To remove permanent hair dye, you'll need a gentle yet effective hair color remover that lifts dye without stripping natural oils. Start by understanding your hair's porosity, elasticity, and natural color tone to determine the best approach. Choose a two-step remover designed for permanent dye removal, and mix it according to the instructions. Apply the solution evenly, processing for 20 minutes while checking progress every 5 minutes. After rinsing, apply a neutralizing product to stop the dye removal process. Now that you've started, discover the next steps to achieve the best results and restore your hair's health.
Key Takeaways
• Choose a two-step hair color remover designed for permanent dye removal and suitable for your hair type and condition.
• Conduct a thorough hair analysis to determine porosity, elasticity, and natural color tone before dye removal.
• Mix the remover solution evenly and apply it from roots to ends for consistent color removal, processing for 20 minutes.
• Rinse hair thoroughly and apply a neutralizing product to remove remaining dye, then deep condition to replenish lost moisture.
• Prioritize hair care after dye removal, using color-safe shampoo and conditioner, minimizing heat styling, and opting for air-drying.
Understanding Hair Color Remover Products
When considering hair color remover products, like HD Hairdresser, you're effectively removing permanent hair dye through a two-step process that's designed for easy application at home. This innovative solution is specifically formulated to tackle dramatic black hair, allowing you to make bold color changes without damaging your hair. The process involves mixing the contents of the product in a provided mixing bowl, making it a straightforward and mess-free experience.
One of the biggest benefits of using hair color remover products is that they don't contain harsh chemicals that can damage your hair, especially when you're trying to correct a color mistake. Unlike bleach, which can strip your hair of its natural oils, these products are designed to gently lift the dye without causing damage. This is especially important if you've previously bleached your hair, as it can be more prone to breakage.
Preparing Your Hair for Removal
As you prepare your hair for removal, it's crucial to analyze your hair's condition to anticipate potential damage and take necessary precautions.
You'll want to assess your hair's porosity, elasticity, and previous color treatments to determine the best approach for removal.
Hair Analysis Required
Before attempting to remove permanent hair dye, you must conduct a thorough hair analysis to identify your hair's porosity, elasticity, and natural color tone, as these factors greatly influence the effectiveness of the removal process. This analysis will help you determine the best approach for removing the dye without causing further damage to your hair.
To guarantee a successful removal process, consider the following key factors:
- Hair porosity: Understanding how well your hair absorbs and retains moisture will help you choose the right removal method.
- Previous treatments: Consider any previous chemical treatments, such as bleaching or coloring, that may affect the removal process.
- Natural hair color: Knowing your natural hair color will help you select a removal method that won't alter your natural tone.
- Strand test: Conduct a strand test to assess how your hair will react to the dye removal process and prevent any unwanted damage.
Consulting a professional hairdresser or stylist can provide you with personalized advice on the most suitable hair dye removal approach based on your hair type and history. By taking the time to analyze your hair and consider these factors, you'll be able to select the least damaging method for removing permanent hair dye.
Prep for Damage Control
To minimize damage and ensure the best possible outcome, deeply condition your hair prior to using a hair dye remover. This essential step helps to fortify your hair's natural defenses against the potentially harsh removal process. This vital step will help your hair withstand the remover's effects, ensuring a smoother removal process.
Avoid washing your hair right before using the remover, as the natural oils can act as a protective barrier. Instead, try using a clarifying shampoo to strip away excess buildup and oils before applying the remover. This will help the product penetrate more effectively and reduce the risk of damage.
Conduct a strand test with the hair dye remover to gauge how your hair will react to the product. This will give you a better understanding of the removal process and help you adjust your approach accordingly.
Don't forget to protect your skin and clothing by wearing gloves and an old t-shirt when working with hair dye removers. By taking these precautions, you'll be well on your way to successful damage control.
Choosing the Right Remover Method
You'll want to carefully select a hair color remover that's specifically designed for permanent dye removal to guarantee effective results. This is an important step in removing unwanted permanent hair dye from your hair. When choosing the right remover method, consider the following key factors:
- Specifically designed for permanent dye removal: Opt for a hair color remover like HD Hairdresser, which is specifically formulated for permanent dye removal.
- Two-step process: Look for a remover that involves a two-step process, consisting of Part A and Part B, to ensure thorough removal of permanent hair color.
- Convenient application: Choose a remover that comes with a mixing bowl and brush for easy application at home.
- Quick and gentle results: Select a remover that promises quick results, like lightened hair in just 20 minutes, and is gentle on the scalp, leaving your hair shinier and minimizing damage during the color removal process.
Mixing the Color Remover Solution
When preparing the color remover solution, you'll need to combine equal amounts of Part A and Part B in the provided mixing bowl.
It's important to mix both parts thoroughly to create a uniform solution, as this guarantees the effective removal of permanent hair dye.
Solution Preparation Essentials
Mixing equal amounts of Part A and Part B in the provided bowl is vital for creating an effective color remover solution that can efficiently remove permanent hair dye. This two-step process is essential for the solution to work efficiently in removing the unwanted color.
To guarantee consistent color removal, follow these essential steps when preparing the color remover solution:
- Mix thoroughly: Combine equal amounts of Part A and Part B in the provided mixing bowl, using the brush to blend the solution until it's smooth and consistent.
- Use the right tools: Make sure to use the provided mixing bowl and brush to ensure proper blending of the solution before application.
- Apply correctly: Apply the solution from roots to ends, just like you'd with regular hair dye, to evenly distribute the product for consistent color removal.
- Monitor progress: Check the color every 5 minutes during the 20-minute processing time to monitor the lightening progress and prevent over-processing.
Mixing Ratio Guidelines
To guarantee the best color removal, you must strictly adhere to the recommended mixing ratio of equal parts Part A and Part B, as any deviation can compromise the effectiveness of the solution. This precise mixing ratio is vital for balanced chemical reactions, which are essential for best results in hair dye removal.
When you mix Part A and Part B in equal amounts, you create a balanced solution that ensures even color removal. This is because the chemical reactions between Part A and Part B are optimized when they're combined in a 1:1 ratio. Any deviation from this ratio can lead to uneven or incomplete removal of permanent hair dye.
Applying the Remover to Hair
With the remover mixture prepared, you'll now apply it evenly to your hair, working from roots to ends using the provided brush. This guarantees a uniform application, which is essential for effective hair color removal.
When applying the remover, keep in mind the following key tips:
- Work from roots to ends: Start at the roots and work your way down to the ends of your hair to ensure even coverage.
- Use the provided brush: The brush is designed for even application, so be sure to use it to avoid any patchy areas.
- Handle carefully: The remover has a thin consistency, so be cautious not to drip it on your skin or surfaces.
- Leave on for 20 minutes: Allow the remover to sit on your hair for 20 minutes, checking every 5 minutes to achieve the desired results.
As you apply the remover, remember that it's designed for DIY home use, so be gentle and avoid any unwanted skin contact. By following these guidelines, you'll be well on your way to removing that unwanted permanent hair dye.
Processing Time and Checking Progress
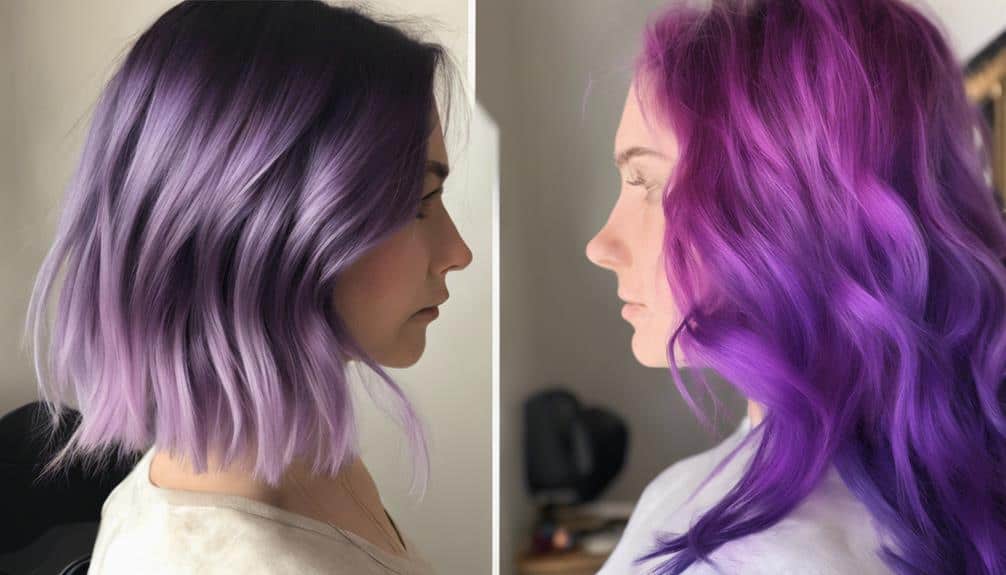
You'll need to commit to regular progress checks every 5 minutes during the 20-minute processing time to make sure the remover is working effectively and avoid over-processing. This is essential in achieving the desired result in your color removal process. The 20-minute processing time allows for a quick and efficient process, minimizing the potential for hair damage.
As you monitor the lightening process, you'll be able to track progress and adjust the timing accordingly. This is particularly vital, as it prevents over-processing and ensures a successful outcome. Users have reported that the product effectively lightens hair, making it easier to track progress and adjust timing accordingly.
Neutralizing and Rinsing Hair
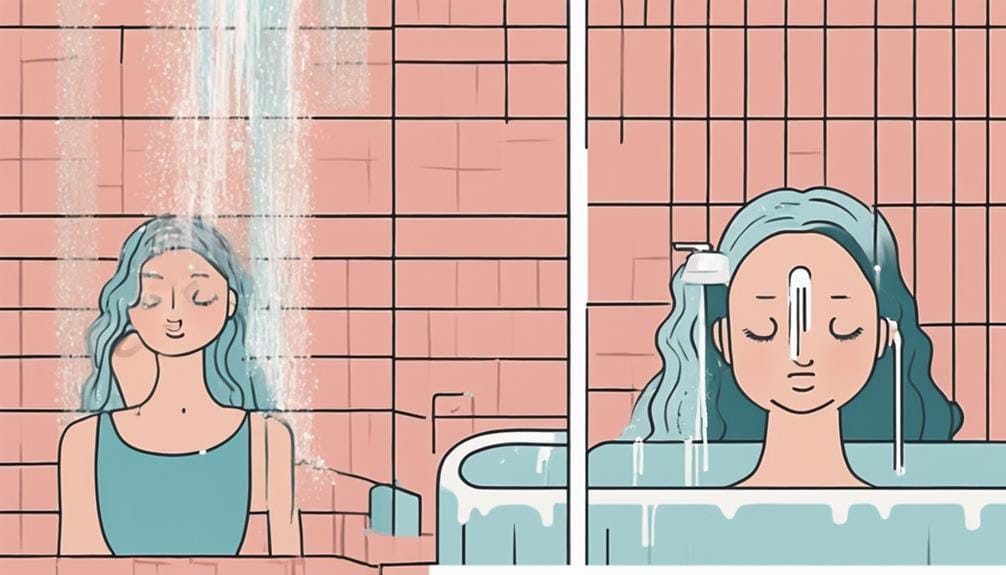
Having removed the dye remover, proceed to rinse your hair thoroughly with warm water for several minutes to eliminate any remaining dye residue. This step is essential in preparing your hair for the neutralizing process.
Next, follow these steps to neutralize and rinse your hair:
- Apply a color-removing or neutralizing product according to the instructions to help break down the dye molecules.
- Gently massage the product into the hair from roots to ends to guarantee even coverage and effective removal.
- Allow the neutralizing product to sit on the hair for the recommended time to fully penetrate and neutralize the dye.
- Rinse the hair again with warm water until the water runs clear, indicating that the dye has been successfully removed.
Post-Removal Hair Care Tips
After removing permanent hair dye, it's important to prioritize hair care to restore vitality and prevent further damage, as the hair is particularly vulnerable during this period. You'll want to focus on nourishing and moisturizing your locks to promote healthy hair growth.
Start by treating yourself to a deep conditioning treatment to replenish lost moisture and provide essential nourishment. This will help repair any damage caused by the dye removal process.
When it comes to styling, it's necessary to minimize heat styling and opt for air-drying instead. Excessive heat can cause further damage, stripping your hair of its natural oils. Instead, let your hair air-dry or use a microfiber towel to gently blot out excess moisture.
To maintain the health and vibrancy of your hair color, consider using a color-safe shampoo and conditioner. These gentle, sulfate-free formulas will help lock in color and moisture, ensuring your hair looks vibrant and healthy.
Don't forget to trim those damaged or split ends to promote healthy hair growth and maintain a fresh look.
Finally, protect your hair from UV rays and environmental factors by using products with UV protection or wearing a hat when exposed to sunlight.
Common Removal Mistakes to Avoid
When removing permanent hair dye, it's just as important to know what not to do as it is to follow the correct removal process. By avoiding common removal mistakes, you can guarantee damage, breakage, and uneven color removal.
Here are some common removal mistakes to avoid:
- Bleach damage: Refrain from using bleach to remove permanent hair dye, as it can severely harm and weaken your hair.
- Over-processing: Steer clear of over-processing your hair with multiple color removal treatments, as this can lead to excessive dryness and breakage.
- Patchy color removal: Refrain from leaving color removal products on your hair for longer than recommended, as it can result in uneven or patchy color removal.
- Incompatible ingredients: Be cautious when mixing different chemicals or products for color removal, as incompatible ingredients can cause adverse reactions.
Additionally, be mindful of your hair's vulnerability after using hair dye removers. Avoid using heat styling tools immediately after removal, as your hair may be more prone to heat damage during this time.
Can the Same Methods Used to Remove Hair Dye Also Be Used to Remove Tattoos?
Yes, the methods used for removing hair dye can also be used to remove tattoos. Laser treatment is the most effective method for removing tattoos efficiently without scarring. It breaks down the ink particles, allowing the body to naturally remove them. Other methods include dermabrasion and excision.
Frequently Asked Questions
How to Remove Permanent Hair Dye From Hair at Home?
You're looking for a way to remove permanent hair dye from the comfort of your own home. Luckily, there's a solution!
Using a hair color remover like HD Hairdresser's two-step process can effectively remove permanent hair dye.
Simply mix Part A and Part B, apply it like regular hair dye, and leave it on for 20 minutes.
How Long Does It Take to Get Permanent Hair Dye Out?
As you commence on this hair-raising adventure, you're probably wondering, 'How long will I be stuck in this dye-lemma?'
The wait is almost over! On average, it takes around 20-30 minutes to break free from permanent hair dye using a hair color remover like HD Hairdresser.
However, the actual time depends on the intensity of the color, your hair type, and how long the dye has been holding you hostage.
Can Permanent Hair Dye Come Out?
You're wondering if permanent hair dye can come out on its own.
The answer is, it's possible, but not entirely. While the color may fade over time, the molecules that penetrated your hair cuticle will still remain.
You might notice a slight lightening, but the color won't completely disappear. This is because the dye has bonded with your hair, making it difficult to remove without professional intervention or harsh treatments.
How Can I Lighten Permanent Hair Dye Quickly?
'You're stuck with a hair color that's as stubborn as a bad habit. But don't worry, you can break free!
To quickly lighten permanent hair dye, try an at-home hair color remover like HD Hairdresser. This two-step process takes just 20 minutes, and you'll be on your way to a lighter, shinier you.
Simply mix equal parts A and B, apply, and check every 5 minutes until you reach your desired result.'
Conclusion
You've successfully removed the permanent hair dye and restored your hair to its natural state.
According to the American Hair Loss Association, approximately 67% of women experience hair loss due to excessive chemical processing.
By following these steps, you've minimized damage and taken an essential step towards healthier locks.
Remember, patience and caution are key when dealing with hair color removers.
With the right approach, you can achieve the hair you desire while preserving its integrity.


