You start by removing excess fat, knuckles, and sinew from the chicken breasts, then inspect them thoroughly to eliminate bloodlines or veins that can affect the taste and texture of your dish. Next, split the breasts in half to create cutlets for even cooking and gently flatten them to tenderize the meat. Avoid washing the chicken breast to prevent bacterial contamination, and instead, pat it dry with paper towels to remove excess moisture. By following these initial steps, you'll be well on your way to preparing clean, safe, and delicious chicken breasts – and there's more to learn to guarantee a perfect final product.
Key Takeaways
• Remove excess fat, knuckles, and sinew from chicken breasts for leaner cuts and even cooking.
• Inspect thoroughly to eliminate bloodlines or veins, extracting imperfections without damaging the meat.
• Split breasts in half to create cutlets, then gently flatten them to tenderize the meat and ensure clean chicken breasts.
• Use a sharp knife and precision for clean, uniform cuts to enhance texture and appearance of chicken breasts.
• Avoid washing chicken breast to prevent bacterial contamination; instead, trim excess fat, sinew, and knuckles for safe handling.
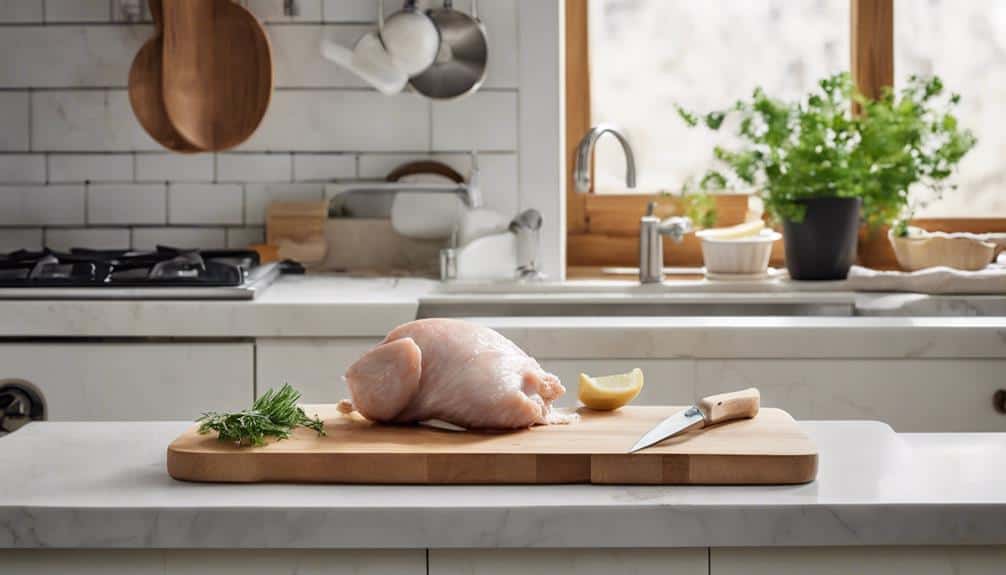
Preparing the Chicken Breasts
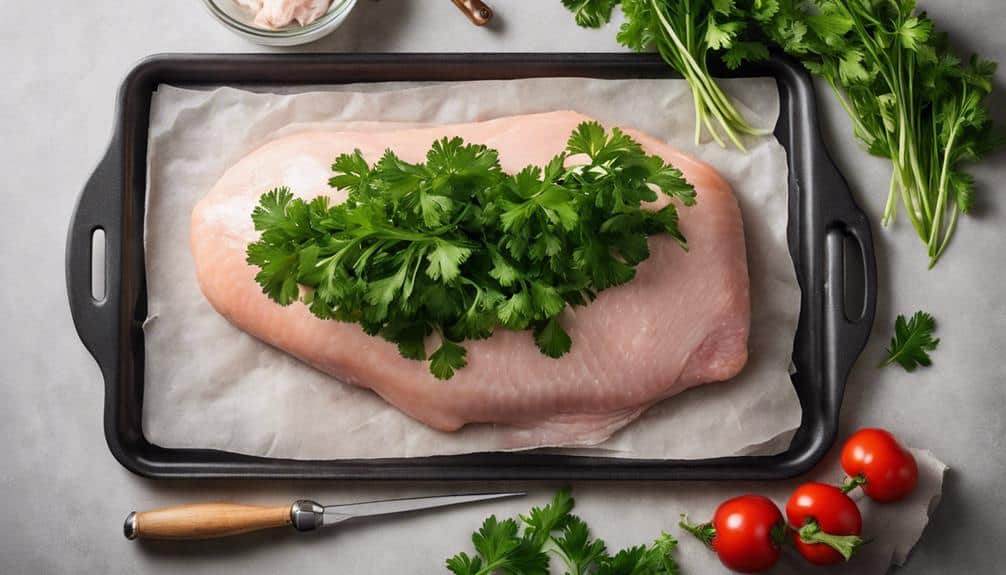
Remove any visible sinew, excess fat, and knuckles from the chicken breasts to guarantee a clean and uniform cut. This ensures that these unwanted elements do not compromise the quality of your final dish. You want to make sure you're working with a clean chicken breast, free from any impurities that can affect the taste and texture of your meal.
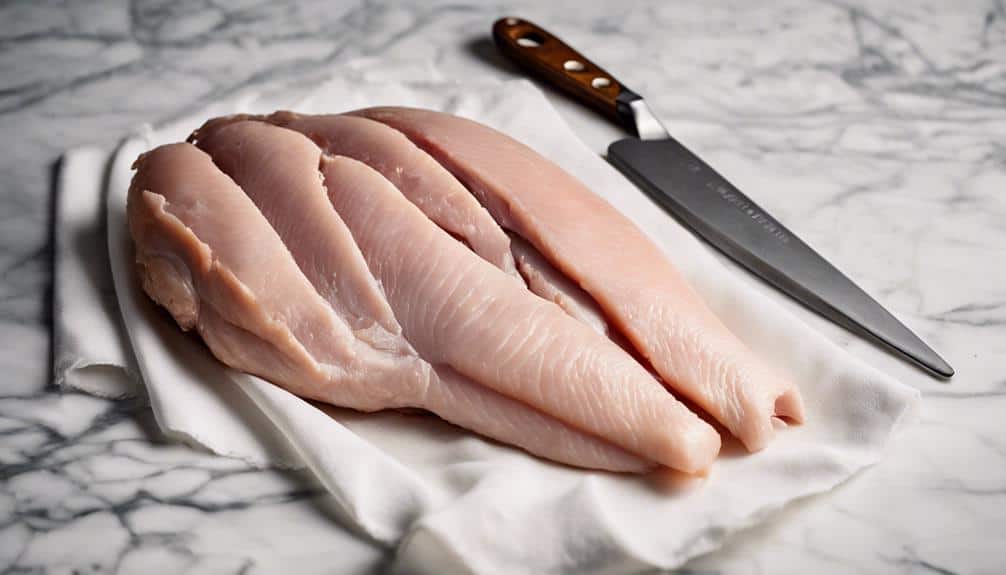
Next, inspect the chicken breasts thoroughly to eliminate any bloodlines or veins. This step is crucial in achieving a clean chicken breast. Take your time to carefully examine the breasts, and use a sharp knife to eliminate any imperfections.
Once you've cleaned the chicken breasts, it's time to prepare them for cooking. Split the breasts in half to create chicken cutlets. This will facilitate even cooking and prevent uneven cooking. Gently flatten the cutlets to tenderize the meat, making it more receptive to your chosen seasonings and cooking methods.
Trimming Excess Fat and Sinew
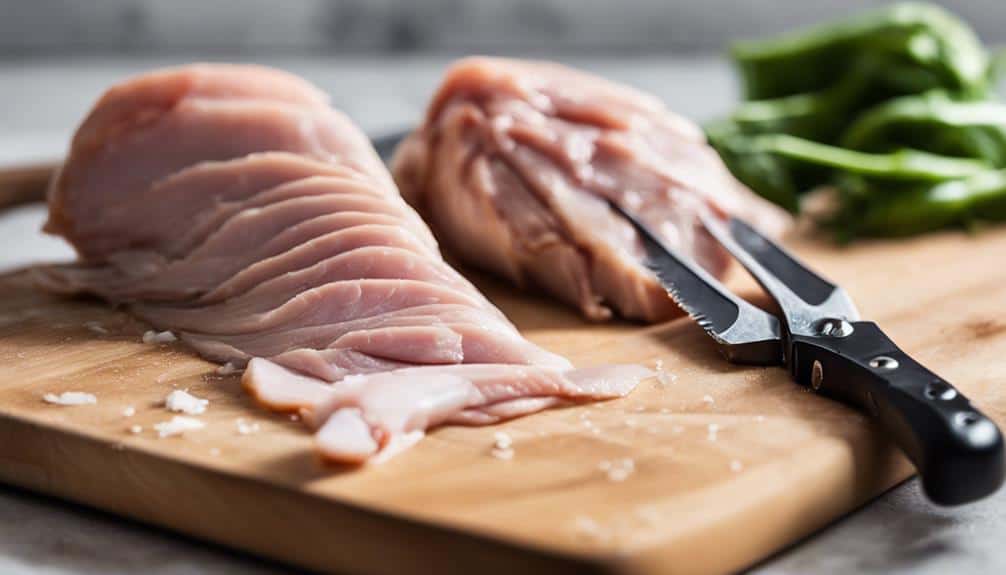
Using a sharp knife, you'll carefully trim away excess fat from the chicken breasts, creating a leaner cut that's ideal for cooking. This pivotal step guarantees that your chicken breasts are clean and uniform, making them perfect for your chosen cooking method.
As you trim excess fat, you'll also identify and remove sinew, the tough, fibrous tissue that can make cooked chicken breasts chewy and unappealing. Cutting out sinew helps prevent chewiness in cooked chicken breasts, enhancing the overall texture and appearance of the meat.
By removing sinew, you'll be left with tender, juicy chicken breasts that are sure to impress. Properly trimming fat and sinew also safeguards that your chicken breasts cook evenly, reducing the risk of undercooked or overcooked areas.
As you work through this process, take your time and be precise. A sharp knife and a keen eye will help you navigate the subtle curves and contours of the chicken breasts. Remember, the goal is to create a clean, uniform cut that's perfect for cooking.
Removing Bloodlines and Veins
As you begin removing bloodlines and veins, you'll need to identify the locations of blood clots and vein networks within the chicken breast.
You'll learn techniques for carefully extracting these imperfections without damaging the surrounding meat.
Removing Blood Clots
When inspecting chicken breasts, you'll often discover bloodlines or veins that can affect the texture and taste of your dish, making it essential to identify and remove them for a cleaner appearance. These blood clots can be a major turnoff, and trimming them out can greatly improve the overall quality of your chicken dish.
| Benefits of Removing Blood Clots | Description |
|---|---|
| Improved Texture | Removing bloodlines prevents chewiness, enhancing the eating experience. |
| Enhanced Flavor | Blood clots can impact the taste of your dish; removing them ensures a better flavor profile. |
| Better Appearance | Cleaning chicken breasts of blood clots results in a more visually appealing dish. |
Removing blood clots is vital for a high-quality dish. Thoroughly inspect your chicken breasts before cooking to identify any visible bloodlines or veins. By taking the time to remove these imperfections, you'll be rewarded with a more enjoyable and satisfying meal. Don't let blood clots ruin your dish – take the extra step to guarantee a culinary masterpiece.
Identifying Vein Locations
You'll need to visually inspect the chicken breast to identify the location of bloodlines and veins, which can appear as dark or red lines running through the meat. This step is vital in removing them to improve the texture and appearance of the chicken. Bloodlines can cause toughness and chewiness in cooked chicken if not properly removed.
When inspecting the chicken breast, focus on the thickest part, as this is where bloodlines and veins tend to be more prominent. Here are three key areas to examine:
- Center of the breast: Bloodlines often run through the center of the breast, making it essential to inspect this area carefully.
- Thickest part: As mentioned earlier, the thickest part of the breast is prone to having more bloodlines and veins.
- Areas around the rib cage: The areas around the rib cage tend to have more prominent bloodlines and veins, so make sure to inspect these areas thoroughly.
Deveining Techniques
With a sharp knife in hand, carefully slice into the chicken breast, making precise cuts to remove the identified bloodlines and veins. This important step in deveining techniques guarantees a visually appealing dish and an enhanced eating experience.
| Deveining Techniques | Benefits |
|---|---|
| Remove bloodlines and veins | Improve texture and appearance |
| Make precise cuts with a sharp knife | Guarantee clean cuts without bloodlines or veins |
| Inspect chicken breasts before cutting | Enhance overall eating experience |
Washing and Rinsing Techniques
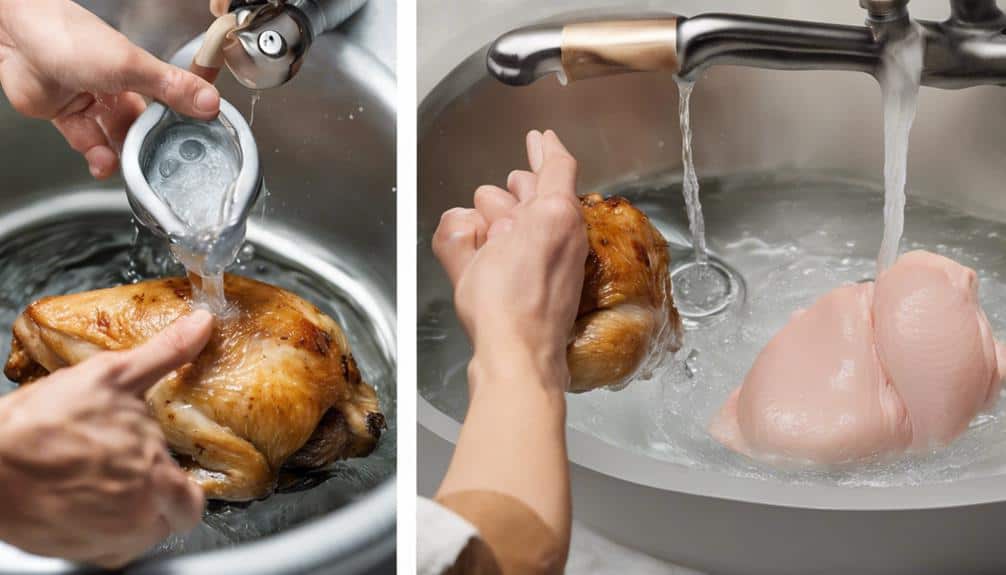
Avoid washing your chicken breast, as this can spread harmful bacteria and contaminate your kitchen. This may seem counterintuitive, but washing chicken breast can actually increase the risk of foodborne illness. Instead, focus on proper handling and preparation techniques to make sure your chicken is safe to eat.
Here are some essential steps to follow:
- Trim excess fat and sinew: Use a sharp knife to remove any excess fat, sinew, or knuckles from the chicken breast. This will help prevent any contamination and make the cooking process easier.
- Pat dry with paper towels: Gently pat the chicken breast with paper towels to remove any excess moisture. This helps the chicken cook more evenly and prevents steam from building up during cooking.
- Properly cook to 165°F: Cook the chicken breast to an internal temperature of 165°F to guarantee food safety. This is the most critical step in preventing foodborne illness.
Drying the Chicken Breasts
Now that you've washed and rinsed your chicken breasts, it's time to dry them thoroughly.
You'll want to pat them dry with paper towels to remove excess moisture, which will help seasonings and marinades adhere better and promote a crispy texture when cooking.
Air Drying Methods
By patting chicken breasts dry with paper towels, you remove excess moisture, setting the stage for even browning, crispy skin, and better adherence of seasonings and marinades. This essential step in cooking chicken helps prevent splattering in the pan and promotes even browning.
When you air dry chicken breasts, you're not just removing excess moisture, you're also enhancing their texture and flavor.
Here are three benefits of air drying chicken breasts:
- Better Browning: Air drying chicken breasts allows for a crispy, golden-brown crust to form when cooking.
- Enhanced Flavor: By removing excess moisture, seasonings and marinades can adhere better to the surface, resulting in more flavorful chicken.
- Improved Texture: Allowing chicken breasts to air dry in the refrigerator uncovered can enhance their texture, making them more tender and juicy.
Pat Dry Thoroughly
To guarantee your chicken breasts are properly prepared for cooking, take a few minutes to pat them dry with paper towels, removing as much excess moisture as possible. This important step helps seasonings adhere better during cooking, ensuring a more flavorful dish. Moisture on the surface of chicken breasts can prevent browning and crispiness, so it's vital to pat dry thoroughly.
When you pat dry your chicken breasts, make sure to do so evenly to ensure consistent cooking results. You want to remove excess moisture, but not press too hard, which can squeeze out juices. Gently pat the breasts with paper towels, focusing on the skin side if your chicken has skin. By doing so, you'll set yourself up for success, achieving a golden, flavorful crust when cooking. Remember, a dry surface is key to a crispy exterior and juicy interior.
Take the extra minute to pat dry thoroughly, and you'll be rewarded with a mouth-watering, expertly cooked dish.
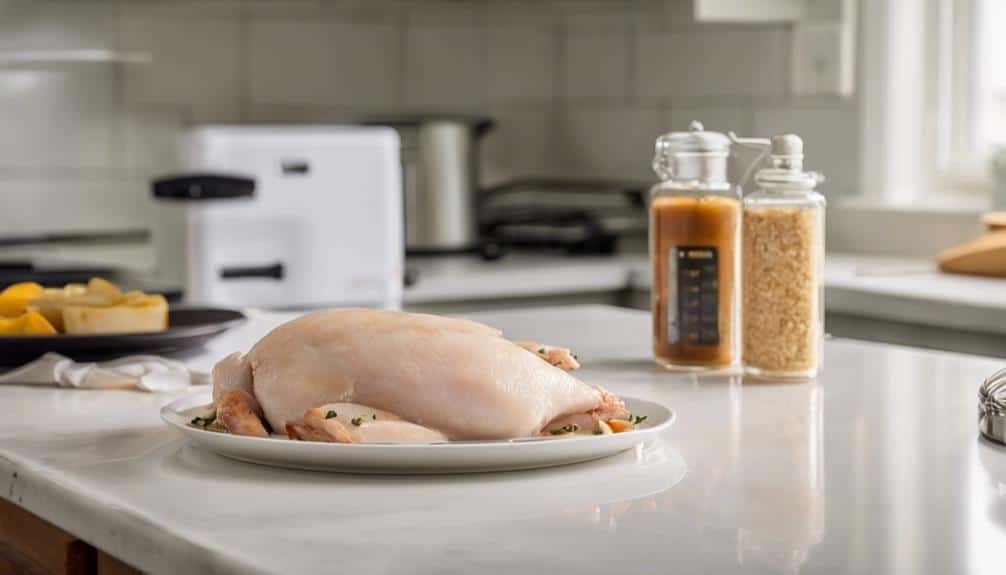
Organizing for Efficient Cooking
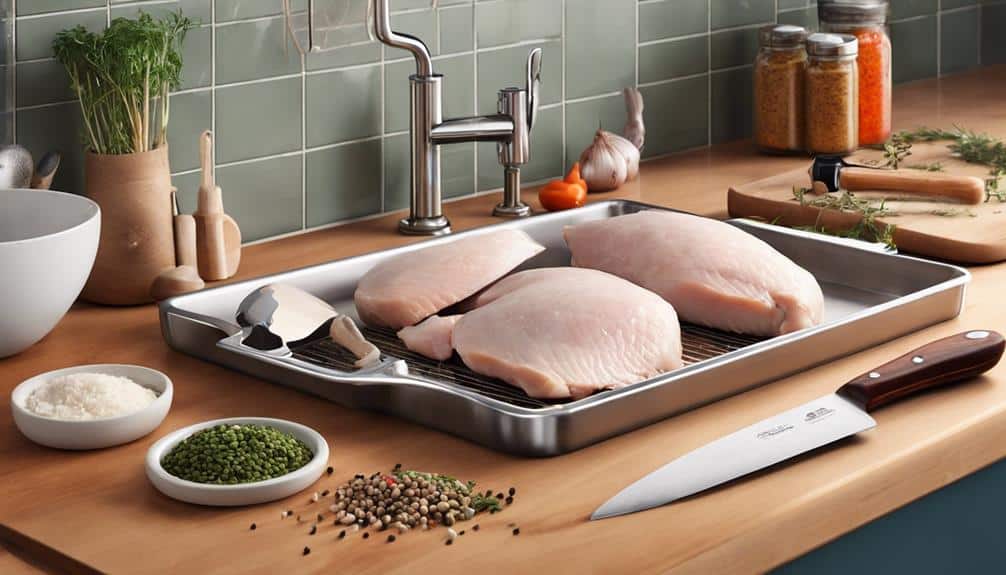
Your clean and organized workspace sets the stage for efficient cooking, allowing you to tackle the task at hand with confidence. A cluttered workspace can lead to mistakes, wasted time, and even contamination risks. By setting up a clean workspace with all necessary tools like a sharp knife, cutting board, and bowls for organizing different cuts, you'll be well-prepared to tackle the task of cleaning and cooking your chicken breast.
Here are some essential steps to help you organize for efficient cooking:
- Prepare your tools: Make sure you have a sharp knife, cutting board, and bowls for organizing different cuts.
- Clean your sink: Confirm that your sink is clean and ready for easy cleanup after handling raw chicken.
- Organize your chicken: Trim, clean, and cut your chicken breasts efficiently to save time during cooking.
Common Mistakes to Avoid
As you prepare to clean your chicken breast, it's important to be aware of common mistakes that can compromise the quality and safety of your dish.
You might be tempted to rinse your chicken breast with cold water, but this can lead to cross-contamination in your kitchen.
Additionally, overhandling the meat can cause it to become tough and dense, so it's vital to handle it gently and with care.
Rinsing With Cold Water
Rinsing chicken breasts with cold water is a common mistake that can have unintended consequences for kitchen cleanliness and food safety. You might think you're being cautious, but in reality, you're creating a breeding ground for bacteria to spread.
Here are three reasons to skip rinsing your chicken breast:
- Bacteria spreads easily: Rinsing chicken breasts with cold water can splash harmful bacteria like Salmonella and Campylobacter around the kitchen, putting you and your family at risk.
- Ineffective removal: Cold water rinsing doesn't effectively remove bacteria from the chicken breast, so you're not achieving your goal of cleanliness.
- Expert advice: The USDA and CDC recommend against washing chicken to prevent cross-contamination, emphasizing proper cooking techniques instead.
Overhandling the Meat
When handling chicken breast, it is essential to limit contact with the meat to prevent the spread of bacteria. Overhandling the meat is a common mistake that can lead to bacterial contamination. Every time you touch the chicken, you increase the risk of transferring bacteria to the meat, utensils, and surfaces. This excessive handling can spread harmful bacteria like Salmonella and Campylobacter, which can cause foodborne illnesses.
To avoid overhandling the meat, limit your contact to essential tasks such as trimming and cutting. Avoid excessive squeezing, prodding, or massaging the chicken breast, as this can push bacteria deeper into the meat. Focus on quick and gentle handling, and remember to wash your hands thoroughly before and after handling the chicken.
Sanitizing Your Workspace
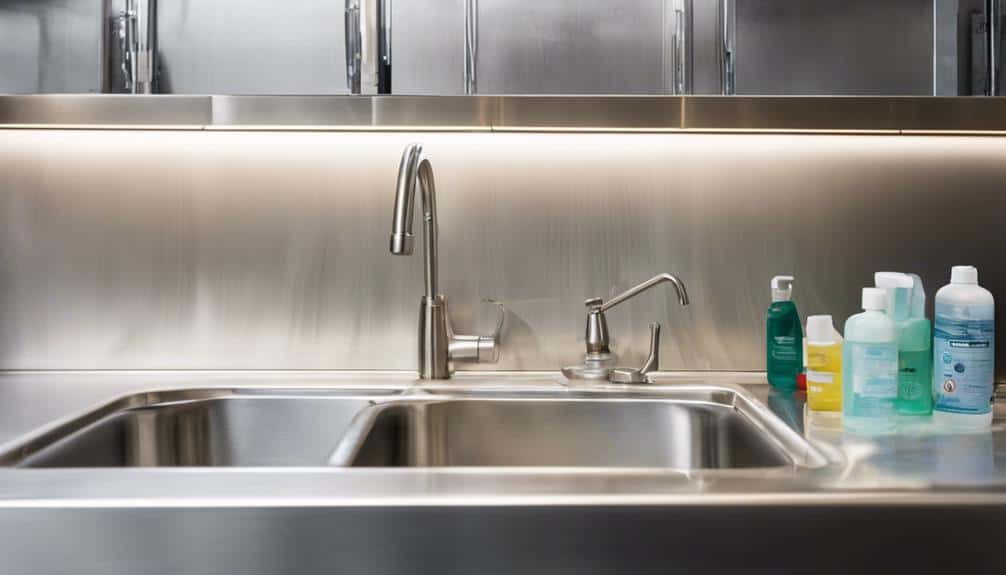
Before handling chicken breasts, disinfect your workspace with a mixture of water and bleach to prevent cross-contamination. This critical step guarantees that harmful bacteria from the raw meat don't spread to other surfaces, compromising food safety.
When preparing chicken breasts, it's vital to maintain proper kitchen hygiene. Here are three key takeaways to keep in mind:
- Clean countertops: Wipe down all surfaces that come into contact with raw chicken with hot, soapy water to eliminate bacteria.
- Sanitize utensils: Use separate cutting boards and utensils for raw chicken to avoid spreading harmful bacteria to other surfaces.
- Wash your hands: Thoroughly wash your hands before and after handling chicken breasts to maintain hygiene and prevent foodborne illnesses.
Safe Handling and Storage
You've taken the first step towards preparing your chicken breasts, now it's time to focus on safe handling and storage to guarantee your meal is both delicious and safe to eat. When handling raw chicken, it's important to prioritize safety to avoid cross-contamination and foodborne illness.
Store your chicken breasts in the refrigerator at 40°F or below to prevent bacterial growth. Make sure to use them within 1-2 days of purchase for best freshness and safety.
When thawing frozen chicken breasts, do so in the refrigerator, microwave, or cold water to prevent bacteria growth. It's vital to keep raw chicken breasts separate from ready-to-eat foods to avoid cross-contamination.
Discard any chicken breasts that have an off smell, slimy texture, or unusual color to prevent foodborne illness.
Cleaning Tools and Surfaces
Clean your sink and cutting board thoroughly before bringing out the chicken breasts to prevent any residual bacteria from contaminating your workspace. This is vital in maintaining a clean environment for cleaning your chicken breasts. You don't want any lingering bacteria from previous meals or food preparation to affect the quality of your chicken.
To maintain a clean and safe workspace, follow these essential steps:
- Clean and sanitize your cutting board: Use a mixture of soap and warm water to wipe down your cutting board, then sanitize it with a solution of equal parts water and white vinegar.
- Wash your hands thoroughly: Before and after handling chicken breasts, wash your hands with soap and warm water for at least 20 seconds.
- Keep knives and utensils separate: Designate specific knives and utensils for cleaning chicken breasts, and keep them separate from other kitchen tools to prevent cross-contamination.
Remember to dispose of any packaging or trimmings properly to maintain a clean workspace. Consider wearing gloves when handling raw chicken for added protection.
Preparing for Cooking and Recipes
With your workspace sanitized and chicken breasts prepared, it's time to focus on preparing them for cooking and exploring various recipes that showcase their flavor and versatility. To get started, trim excess fat, sinew, and knuckles from the chicken breasts, and check for any bloodlines or veins, removing them to guarantee a clean and even cooking surface.
Next, cut the chicken breasts into even pieces for uniform cooking. If needed, pound the chicken cutlets gently to tenderize and maintain even thickness. This step is essential to achieve a delicious and juicy cook. After preparing the chicken, organize and portion them efficiently for meal prep or freezing.
Here are some popular ways to cook chicken:
| Cooking Method | Description | Cooking Time |
|---|---|---|
| Grilled | High heat, charred exterior | 5-7 minutes per side |
| Baked | Low heat, moist interior | 20-25 minutes |
| Pan-Seared | Medium heat, crispy exterior | 5-7 minutes per side |
| Slow Cooked | Low heat, tender meat | 6-8 hours |
| Poached | Low heat, moist interior | 10-15 minutes |
These methods will get you started on your cooking journey. Remember to always cook chicken to an internal temperature of 165°F (74°C) to ensure food safety. Now that you've prepared your chicken breasts, it's time to get creative and experiment with various recipes to cook chicken to perfection!
Is the Process of Cleaning Chicken Breast Different from Cleaning a Whole Chicken?
When it comes to “how to clean chicken,” the process for cleaning chicken breast is different from cleaning a whole chicken. With chicken breast, you simply need to remove any excess fat and pat it dry. But with a whole chicken, you have to remove the innards and rinse the bird thoroughly inside and out.
Can I Use Chicken Breast to Cook a Meal in an Abandoned House?
Yes, you can use chicken breast to cook a meal in an abandoned house for free. With the right ingredients and tools, you can easily whip up a delicious dish without spending a dime. Just make sure to clean and sanitize the area before cooking for safety.
Frequently Asked Questions
How Do You Clean Chicken Breast Before Cooking?
When you're getting ready to cook, you're probably wondering how to clean chicken breast before throwing it in the pan.
Here's the deal: you've got to trim excess fat and sinew, remove any bloodlines or veins, and rinse it under cold water to remove debris.
Then, pat it dry with paper towels and pound it gently to even out the thickness.
Now you're ready to cut it into desired pieces and start cooking!
Should I Wash My Chicken Breast With Vinegar?
Here's the deal: you don't need to wash your chicken breast with vinegar. In fact, it's not necessary to wash it at all. Simply pat it dry with paper towels and cook it to the correct temperature to guarantee food safety.
Vinegar can be useful in marinades to add flavor and tenderize the meat, but washing with it's unnecessary and may even spread bacteria around.
Does Chicken Breast Need to Be Rinsed?
You're wondering if chicken breast needs to be rinsed, but the answer is no.
In fact, rinsing can spread harmful bacteria around your kitchen.
Instead, focus on proper cooking methods to guarantee food safety.
Cook your chicken breast to an internal temperature of 165°F, and you'll be good to go.
Skip the rinse and prioritize removing excess fat and sinew for a better cooking experience.
Do Chefs Wash Chicken Before Cooking?
You might think washing chicken before cooking is a no-brainer, but surprisingly, chefs don't wash their chicken. In fact, washing can spread harmful bacteria like Salmonella, making your kitchen a breeding ground for germs.
Instead, proper handling and cooking techniques are key to food safety. So, no, chefs don't wash chicken before cooking – and neither should you. Focus on cooking to the correct temperature to guarantee a safe and delicious meal.
Conclusion
You've mastered the art of cleaning chicken breasts!
Now, debunking the myth: washing raw poultry under cold running water doesn't remove bacteria, it actually spreads them around. In fact, the USDA and food safety experts advise against washing raw chicken altogether.
Instead, focus on proper handling and cooking to guarantee food safety.
Your cleaned and prepared chicken breasts are now ready for your favorite recipes.


