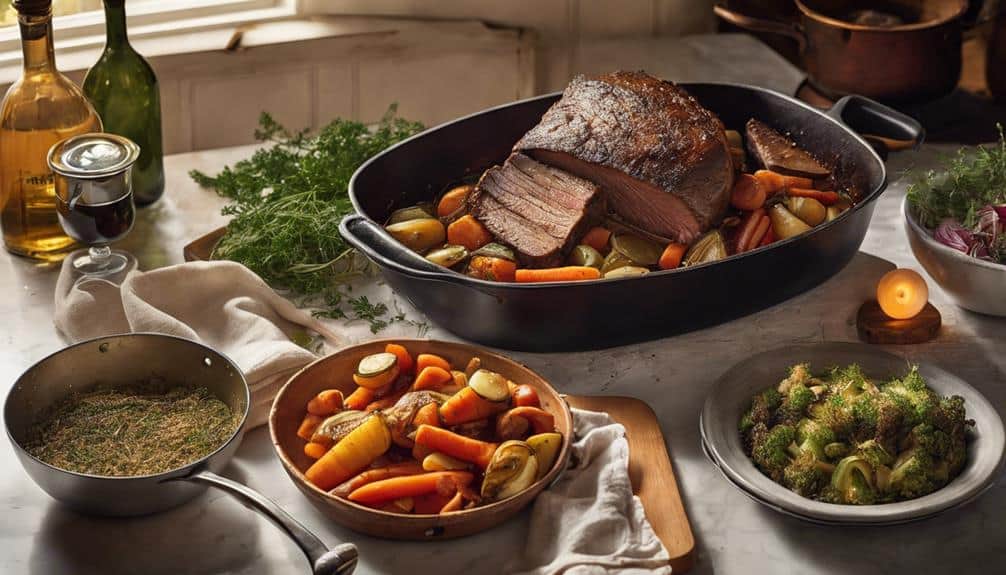
To cook a brisket in the oven, pat it dry and apply a dry rub, then refrigerate it for up to 24 hours. Let it come to room temperature before cooking. Set your oven to 250-300°F and plan for 5-6 hours of cooking time for a 5-pound brisket. Cover it for the first 3 hours and uncover for browning. After cooking, let it rest for 30 minutes. By following these steps, you'll achieve tender, flavorful results. Want to know the secret to a crispy fat layer and the best serving suggestions?
Key Takeaways
• Pat the brisket dry and apply a dry rub evenly, then refrigerate for up to 24 hours to allow the seasonings to penetrate.
• Set the oven to 250-300°F for even cooking and plan for a cooking time of 5-6 hours for a 5-pound brisket.
• Cover the brisket for the first 3 hours and uncover for additional browning, then let it rest for 30 minutes after cooking.
• Cooking at a consistent low temperature between 250-300°F helps in tenderization, flavor development, and moisture retention.
• Slice the cooked brisket against the grain for tender bites and serve with flavorful side dishes like German-style potato salad and roasted Brussels sprouts.
Preparing the Brisket
Before you begin cooking, take a few essential steps to prepare your brisket for oven roasting. This initial prep work lays the foundation for a tender, flavorful final product.
First, pat the brisket dry with a paper towel to remove excess moisture, creating a better surface for the dry rub to adhere to.
Next, apply a generous amount of dry rub to the brisket, making sure to coat it evenly. Wrap the rubbed brisket tightly in foil and refrigerate it for up to 24 hours to allow the flavors to penetrate the meat.
When you're ready to cook, remove the brisket from the refrigerator and let it come to room temperature. This important step ensures even cooking throughout the brisket.
Place the brisket in a roasting pan with a rack, allowing air to circulate underneath. This setup promotes even browning and prevents the brisket from steaming instead of roasting.
Finally, position the brisket fat side up, which will help keep it moist and flavorful during the cooking process.
With your brisket properly prepared, you're now ready to move on to the next step: cooking it to perfection. Remember to use a meat thermometer to make sure the internal temperature reaches 170-180°F for a tender, juicy brisket.
Oven Temperature and Time
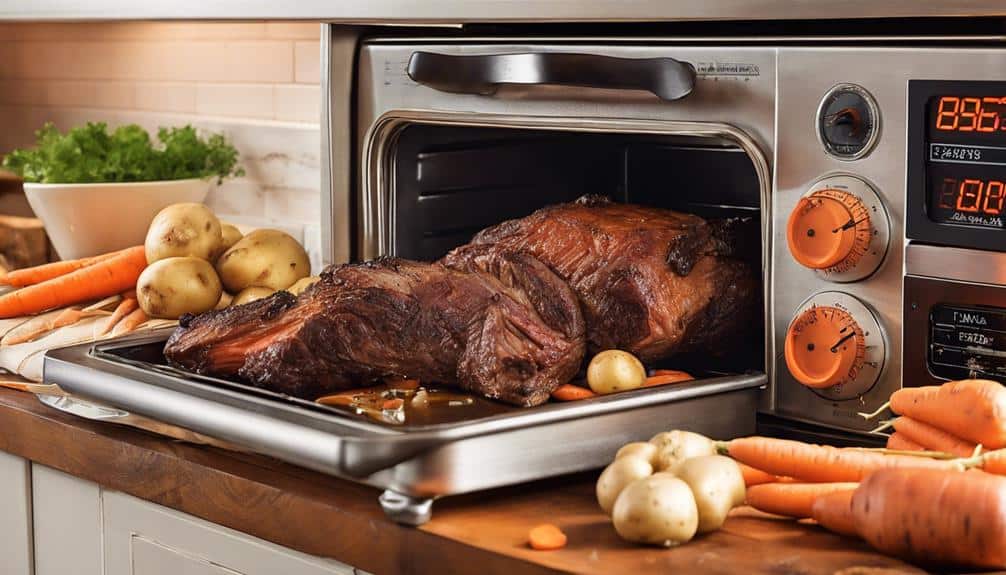
As you prepare to cook your brisket in the oven, it's crucial to get the temperature and time just right.
You'll want to set your oven to a low temperature of around 250-300°F to break down the tough connective tissues, and plan for a cooking time of around 5-6 hours for a 5-pound brisket.
Ideal Oven Temperature
When cooking a brisket in the oven, you'll want to set the temperature to a range of 250-300°F, which allows for slow and even cooking that breaks down the tough muscle fibers, guaranteeing a tender and juicy result.
Here are some key benefits of cooking your brisket at this ideal oven temperature:
- Breaks down tough muscle fibers: Cooking at 250-300°F helps to break down the collagen in the meat, making it tender and easy to chew.
- Even cooking: This temperature range ensures that the heat is distributed evenly throughout the brisket, preventing hotspots and undercooked areas.
- Consistent results: Maintaining a consistent oven temperature throughout the cooking process guarantees a perfectly cooked brisket every time.
- Avoids dry meat: Cooking at a low temperature prevents the brisket from drying out, resulting in a juicy and flavorful final product.
Optimal Cooking Time
How long will it take to cook a brisket to perfection at the ideal oven temperature of 250-300°F? The answer depends on the size of your beef brisket. Generally, a 5-pound brisket takes around 5 1/2 hours to cook at 300°F. However, it is crucial to adjust cooking times according to the size of your brisket to guarantee tenderness.
| Brisket Size | Cooking Time | Temperature |
|---|---|---|
| 3-4 pounds | 4-5 hours | 250-300°F |
| 5 pounds | 5-6 hours | 250-300°F |
| 6-7 pounds | 6-7 hours | 250-300°F |
| 8 pounds | 7-8 hours | 250-300°F |
| 9 pounds | 8-9 hours | 250-300°F |
Remember to cover the brisket for the first 3 hours to retain moisture, then uncover it for additional browning. After cooking, let the brisket rest for 30 minutes to allow the juices to redistribute, resulting in a more flavorful and tender final product. By following these guidelines, you'll achieve a juicy, tender, and flavorful brisket that's sure to impress.
Temperature Control Methods
You'll need to fine-tune your oven temperature and cooking time to achieve tender, fall-apart brisket, as even minor variations can greatly impact the final result. The ideal oven temperature for cooking brisket ranges from 225-300°F for tender results. Cooking at temperatures above 300°F can result in tougher meat.
Here are some essential temperature control methods to keep in mind:
- Ideal Temperature Range: Cook your brisket between 225-300°F for tender, fall-apart results.
- Size Matters: A 5-pound brisket typically cooks for about 5 1/2 hours at 300°F in the oven.
- Moisture Retention: Cover the brisket with foil during the initial cooking phase to retain moisture and promote tenderization.
- Crispy Exterior: Uncover the brisket during the final cooking phase at a higher temperature to achieve a crispy exterior.
Seasoning the Brisket
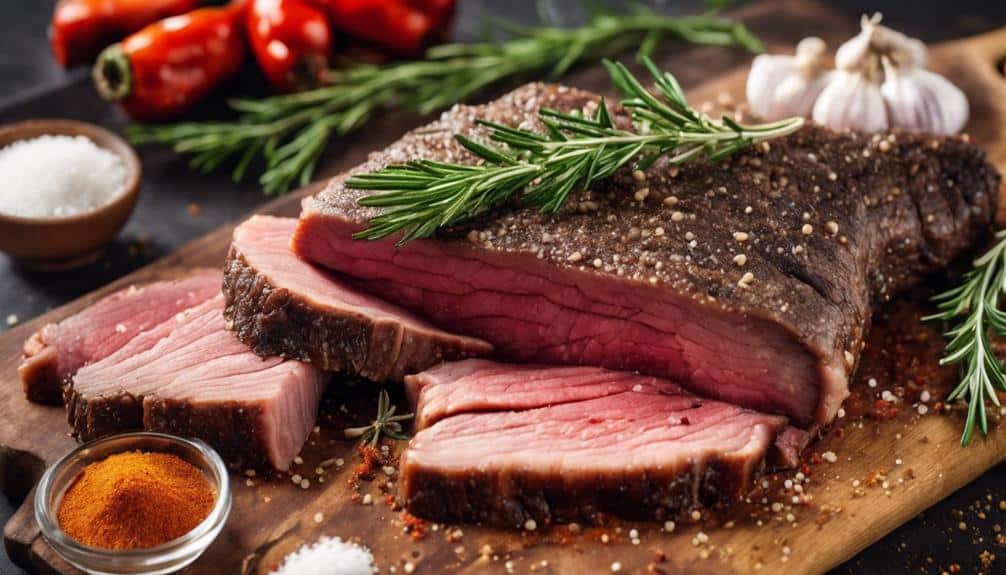
Now that you've set your oven to the right temperature, it's time to focus on the essential step of seasoning your brisket.
You'll want to create a dry rub that combines essential flavors like paprika, garlic powder, and brown sugar to create a rich, aromatic crust.
Brisket Rub Essentials
By combining the perfect blend of spices, including paprika, garlic powder, salt, and brown sugar, you create a dry rub that enhances the flavor and texture of your brisket. This essential seasoning step guarantees your beef brisket turns out tender, juicy, and packed with flavor.
To get the most out of your dry rub, remember these key points:
- Apply generously: Massage the dry rub onto all sides of the brisket to guarantee even seasoning throughout the meat.
- Let it penetrate: Refrigerate the rubbed brisket for up to 24 hours to allow the flavors to penetrate and tenderize the meat.
- Form a flavorful crust: The dry rub will form a tasty crust during cooking, adding texture and flavor to your brisket.
- Balance is key: A well-balanced dry rub is essential for creating a delicious and flavorful brisket when cooking in the oven.
Meat Prep Methods
When seasoning the brisket, start by generously coating all surfaces with your carefully crafted dry rub mixture, making sure to cover every inch of the meat to create a rich, flavorful crust during cooking. This dry rub should contain a mix of ingredients like salt, brown sugar, chili powder, and paprika to enhance the flavor of your brisket.
| Step | Action | Duration |
|---|---|---|
| 1 | Coat brisket with dry rub | Immediate |
| 2 | Refrigerate wrapped in foil | Up to 24 hours |
| 3 | Bring to room temperature | 1-2 hours |
| 4 | Cook in the oven | Varies |
After coating the brisket, refrigerate it wrapped in foil for up to 24 hours to allow the flavors to penetrate the meat. Before cooking, bring the brisket to room temperature to promote even cooking and moisture retention. Proper seasoning with a well-balanced dry rub is vital for creating a delicious and aromatic brisket in the oven. By following these steps, you'll be on your way to a perfectly seasoned and flavorful brisket.
Cooking the Brisket Low
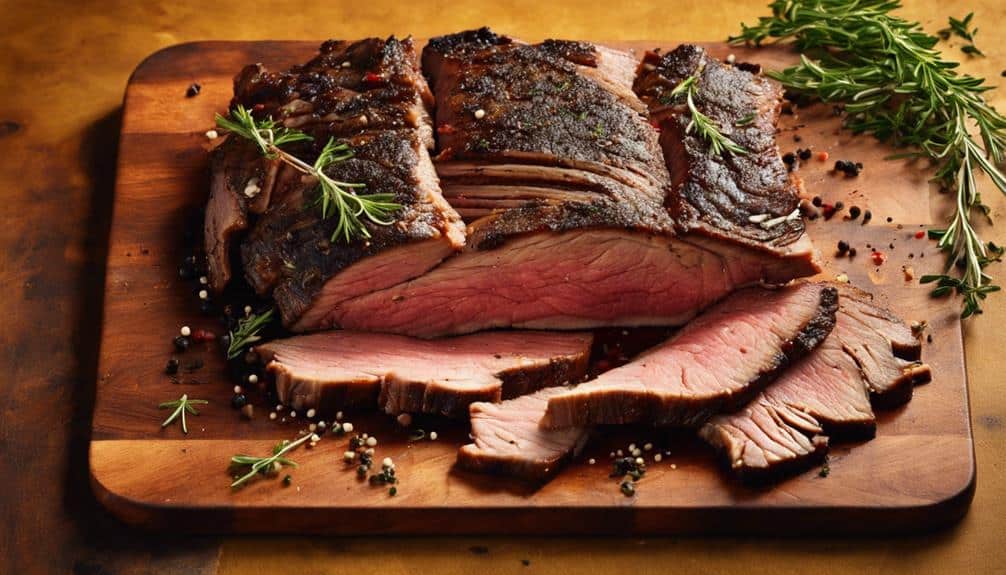
To achieve tender and juicy results, you'll want to cook the brisket low and slow in the oven, maintaining a consistent temperature between 250-300°F. This allows the tough brisket muscle fibers to break down gradually, ensuring a tender and juicy final product.
When cooking the brisket low, you'll want to keep the following benefits in mind:
- Tenderization: The low temperature helps break down the collagen in the meat, making it tender and easy to slice.
- Flavor Development: Slow roasting the brisket in the oven for several hours helps develop rich, deep flavors that are sure to impress.
- Moisture Retention: The low cooking temperature prevents the brisket from drying out and becoming tough, ensuring a juicy final product.
- Consistency: A consistent low oven temperature is essential for achieving a perfectly cooked brisket, with no hot spots or undercooked areas.
Crisp Up the Fat Layer
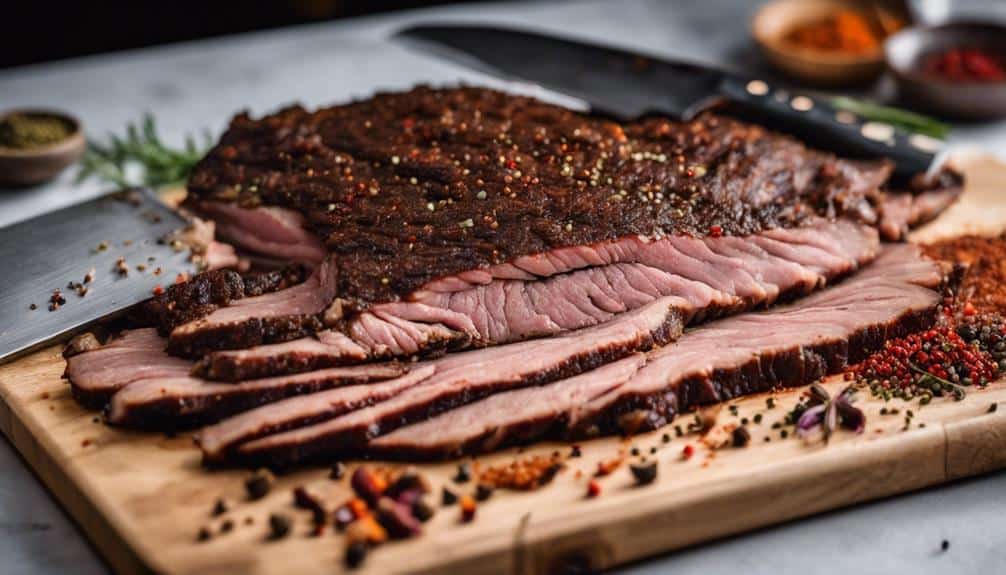
Once you've reached the desired internal temperature, it's time to uncover the brisket and give the fat layer a crispy makeover. Increase the oven temperature to 300°F to achieve a crispy, flavorful crust. This step is vital for adding texture and enhancing the overall taste of the brisket. By cooking the brisket uncovered, you're allowing the fat to render and the top layer to become crispy and flavorful.
The higher temperature helps to brown and caramelize the fat, creating a delicious crust on the outside. This crust not only adds flavor but also enhances the presentation of the dish. A crispy fat layer can elevate the entire dish, making it more appealing to the palate and the eyes.
As the fat renders, it'll add a richness and depth of flavor to the brisket. The crispy texture will provide a pleasant contrast to the tender meat, making each bite more enjoyable. Don't skip this step, as it's essential for creating a mouthwatering presentation and adding a depth of flavor to the brisket.
With a crispy fat layer, you'll be proud to serve your oven-cooked brisket to friends and family.
Resting the Brisket
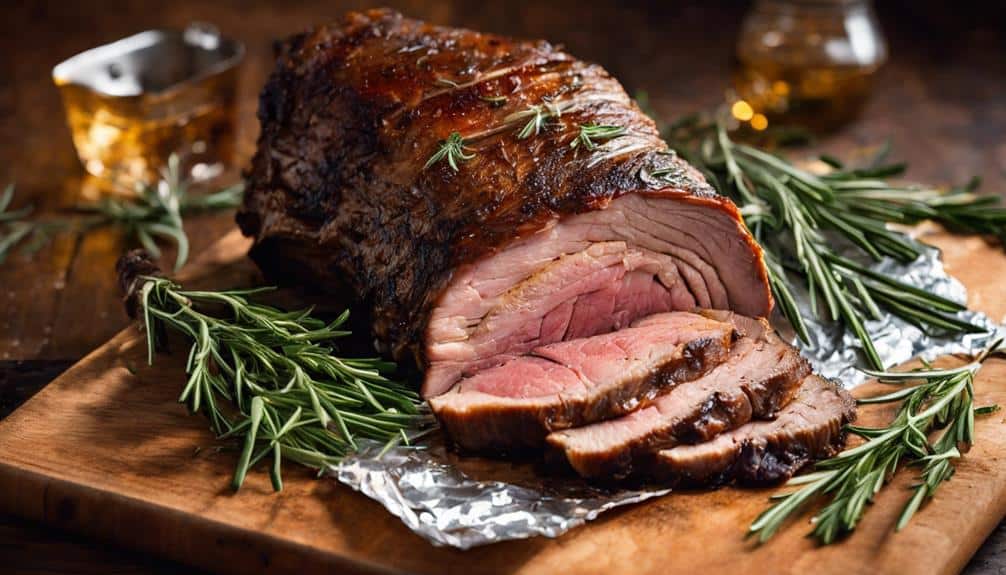
Now that your brisket has reached perfection, let it rest for 20-30 minutes before slicing, allowing the juices to redistribute and the meat to retain its tenderness. This vital step is often overlooked, but it's essential for a juicy and flavorful brisket.
Resting the brisket allows the juices to redistribute evenly throughout the meat, enhancing the flavor and tenderness. It also helps to maintain moisture, preventing the brisket from drying out during slicing and serving. Additionally, the resting period allows the brisket to continue cooking slightly from residual heat, ensuring a consistent texture.
Here are some key benefits of resting your brisket:
- Redistributes juices: Allows the juices to spread evenly throughout the meat, making it more tender and flavorful.
- Maintains moisture: Prevents the brisket from drying out during slicing and serving.
- Enhances texture: Ensures a consistent texture throughout the brisket.
- Preserves flavor: Allows the flavors to meld together, resulting in a more complex and rich flavor profile.
Slicing Against the Grain
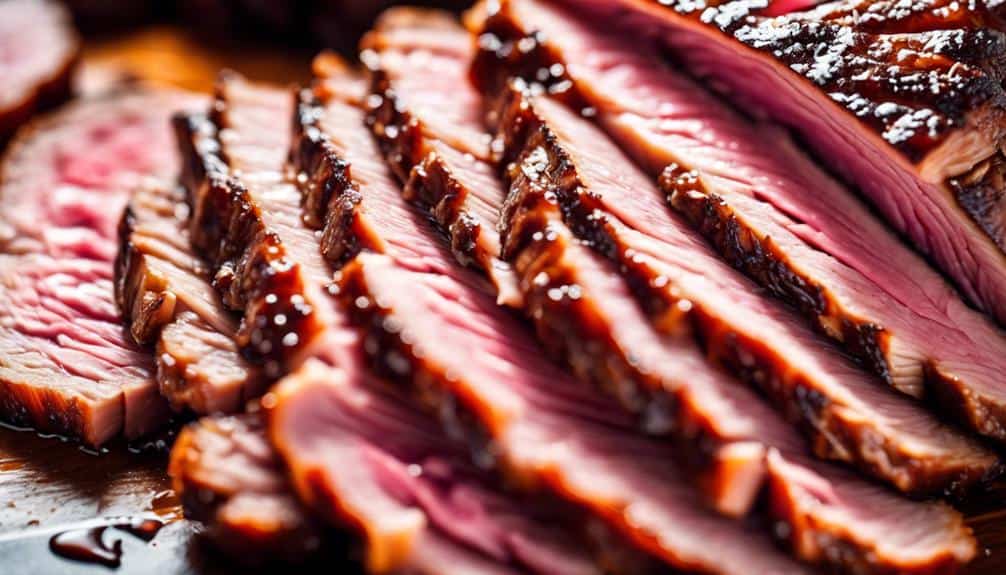
After letting your brisket rest, you're ready to slice it, and the key to tender, easy-to-chew bites lies in slicing against the grain. This important step guarantees that your oven-cooked brisket, seasoned with a flavorful dry rub, is transformed into a juicy, tender delight. By slicing against the grain, you break up tough muscle fibers, making each bite a pleasure to savor.
To achieve maximum tenderness, identify the direction of the grain before slicing. Remember, the grain of the brisket runs parallel to the long side of the meat. Cutting with the grain can result in a chewy, tough texture, which is the opposite of what you want. By slicing against the grain, you shorten the meat fibers, making each slice easier to chew.
When you slice against the grain, you'll notice a significant difference in the texture and flavor of your brisket. The meat will be tender, juicy, and full of flavor, with each bite melting in your mouth. This is a result of your careful attention to detail, from the initial cooking process in the oven to the precise slicing technique.
Serving Suggestions
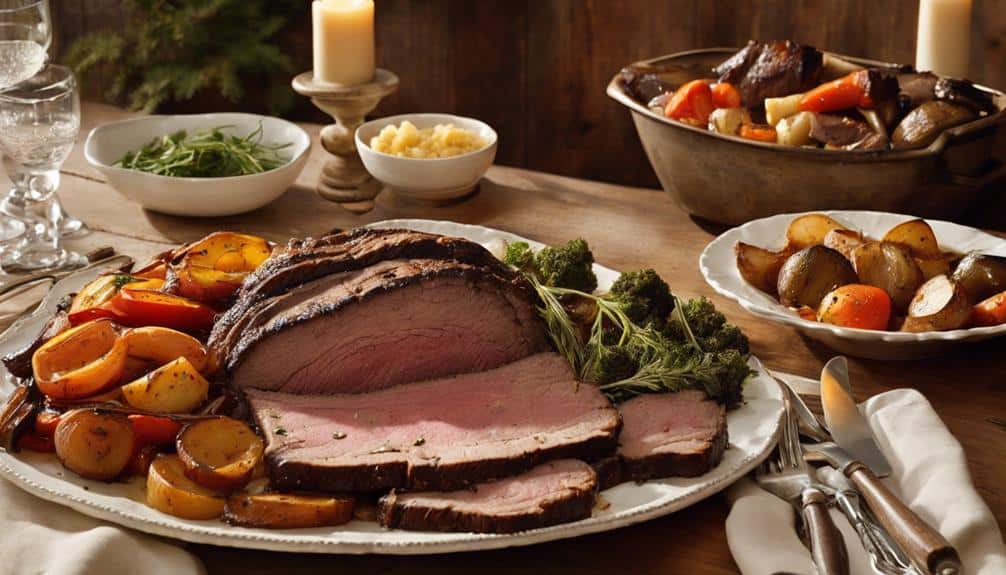
With your tender and juicy oven-cooked brisket in hand, you're ready to serve it with a variety of delicious sides that complement its rich flavor. A 5-pound brisket typically serves around 6 people, making it ideal for family gatherings or dinner parties.
Here are some serving suggestions to elevate your brisket game:
- German-style potato salad: A classic pairing that combines the creaminess of potatoes with the smokiness of the brisket.
- Pea salad with bacon: The sweetness of peas and the crunch of bacon create an invigorating contrast to the savory brisket.
- Roasted Brussel sprouts: The bitterness of the sprouts is balanced by the richness of the brisket, making for a well-rounded flavor profile.
- Mayo-free macaroni salad or smashed sweet potatoes: These sides offer a satisfying contrast in texture to the tender brisket, and can be flavored with garlic butter and honey for added depth.
Storing Leftover Brisket
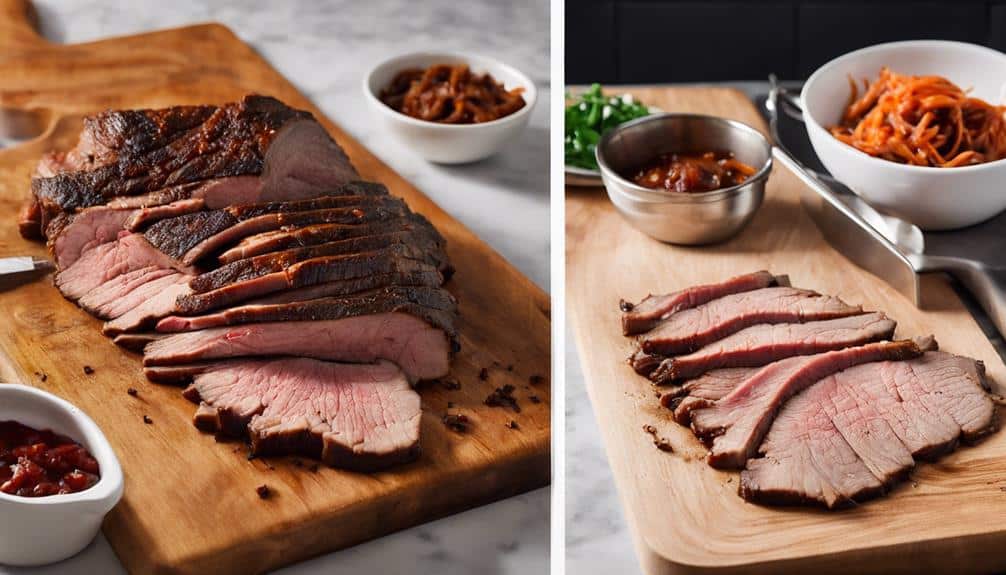
Once you've devoured your fill of the oven-cooked brisket, you'll likely be left with some delicious leftovers that require proper storage to maintain their flavor and texture. To guarantee your leftover brisket stays fresh, it's important to store it correctly.
When it comes to storing leftover brisket, the key is to keep it tightly covered in the refrigerator. Before refrigerating, wrap the cooled brisket in parchment paper, followed by a layer of foil. This will prevent air from reaching the meat, preserving its flavor and texture. Stored properly, your leftover brisket can be safely kept in the refrigerator for 3-5 days.
During this time, you can reheat the brisket as needed, and it'll still be as flavorful as when you first cooked it. The refrigerator's cool temperature helps to slow down bacterial growth, allowing you to enjoy your leftover brisket for a longer period.
Can I Cook Brisket in the Oven Instead of Using a Grill or Smoker?
Yes, you can absolutely cook brisket in the oven instead of using a grill or smoker. It may take longer, but if you follow cooking brisket time recommendations, you can still achieve a tender and flavorful result. Just make sure to use low heat and plenty of seasoning for the best outcome.
Can Eating Brisket Help with Treating a Yeast Infection?
Eating brisket may not directly treat a yeast infection, but maintaining a balanced diet can help support your body’s natural defenses. To address a yeast infection, it’s best to consult a healthcare professional for proper diagnosis and treatment. They can advise on how to flush yeast infection effectively.
Frequently Asked Questions
How Many Hours Does a Brisket Take in the Oven?
When you're wondering how long a brisket takes in the oven, the answer depends on its size. Generally, you're looking at about 1 hour and 15 minutes per pound.
So, for a 5-pounder, you're talking around 5 hours and 15 minutes.
But remember, size and thickness matter, and you'll want to check that internal temp reaches 180-200°F for best tenderness.
Should Brisket Be Wrapped in Foil in the Oven?
When cooking a brisket in the oven, you should definitely wrap it in foil. This technique guarantees the meat stays tender and juicy by retaining moisture and preserving natural juices.
The foil creates a sealed environment, allowing the brisket to cook evenly and absorb flavors. You'll end up with a more flavorful, tender brisket that's simply irresistible.
How Do You Keep Brisket Moist in the Oven?
Savvy cooks, safeguard your succulent brisket from dryness by deploying a few clever tactics.
To keep your brisket moist in the oven, elevate it on a rack, allowing juices to circulate freely.
Periodically baste with flavorful liquids, and cover with foil initially to trap steam.
Maintain a consistent oven temperature, and let the brisket rest post-cooking to redistribute juices.
Do I Put Water in the Pan When Cooking a Brisket in the Oven?
When cooking a brisket in the oven, you'll want to add water to the pan – but why?
The water creates steam, keeping your brisket tender and juicy. It also helps regulate the oven temperature, ensuring even cooking.
You're not submerging the brisket, just using enough water to create steam. Trust us, it makes a huge difference in the final result!
Conclusion
You've mastered the art of oven-cooked brisket! According to the National Cattlemen's Beef Association, the average American consumes around 54 pounds of beef per year, with brisket being a fan favorite.
Your perfectly cooked, tender, and juicy brisket is sure to impress friends and family. Store leftovers properly to enjoy for days to come, and don't be surprised if you're asked to cook it again soon!
